Getting Started
This documentation is your CoDesigner reference manual. No matter how experienced you are or what you want to achieve, it should cover everything you need to know — from navigating the interface to making the most of different features.
There are two modes of CoDesigner for two types of users:
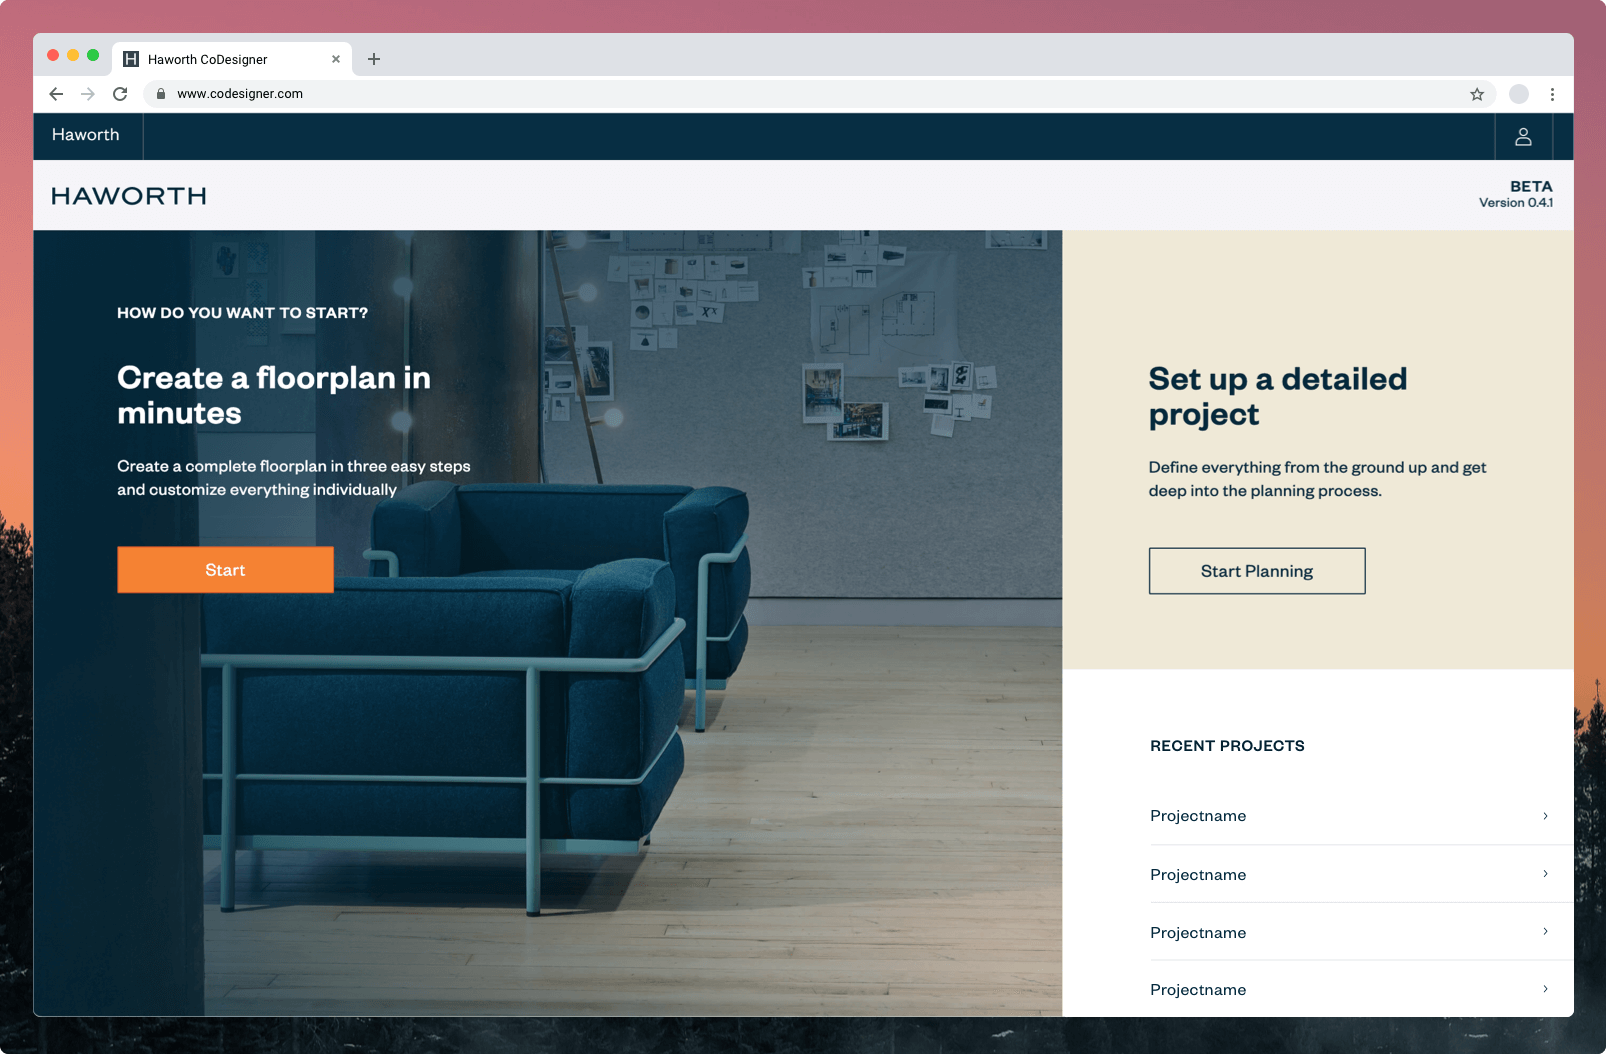
At first, let’s have a look on the welcome page
Here you decide which mode you want to use.
Left: From here you’ll be in Basic mode, starting with a simple onboarding and then a quick test fitting of your building.
Top right: Create a detailed plan, define everything from the ground up and get deep into the planning process.
Bottom right: Here you can open your previous projects (if available) and continue planning.

The home of every project
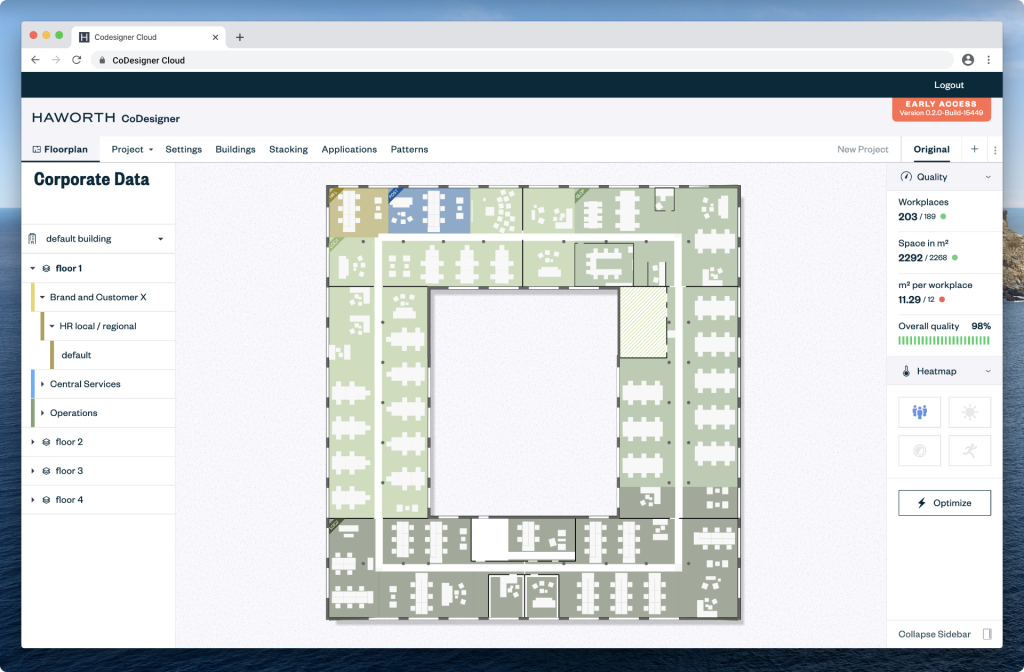
After onboarding and trying out different styles in the test fitting, you can activate the basic mode of CoDesigner for further editing. After that you will end up in the home of every project: the floor plan area. There you can see the visual result of all settings you have made. If you change something, it will be visible here.

In general the CoDesigner Cloud interface is split up into two parts: a navigation area on top and a content area underneath it.
The navigation area will always be with you. In the very top right you can find your logging in and out button, with just underneath it the version number of the CoDesigner Cloud you are currently working with. Underneath these two you find the Navigation bar itself which allows you to access the different editing and viewing modes of the CoDesigner.
Depending on the in the navigation bar selected view or editing mode, the content area will show you a different layout. Often though there will be a Sidebar on the left which gives you an overview of the added data.

