Basic Mode
Navigating the Different Views and Modes
The navigation bar is set up in the way you are used to from a common architectural workflow. It goes from left (the beginning of a project) to right (all the tools you would need to meet the requirements). Exactly the way you would do it in the real world.
To navigate through the important areas and tools you will frequently use in CoDesigner, simply click on them as you would expect from a website navigation. The area you are working in is underlined in the navigation bar. So you never lose control and always find your way.
Here’s a rundown of the Navigationbar:

A) Project
Use the Project dropdown to perform general actions: Start a new project, save or export it (DXF, PDF etc.) and export detailed Excel lists with information about your project. Here you like also access different demo projects that already have all the important parts of the project added to it.
Learn more
B) Floorplan
The Floorplan area is the home of each project in CoDesigner. It presents you the generated floorplan as a result of all of your settings and changes.
Learn more
C) People
The People tab is the place, where you control existing data related to your company: Number and Names of Departments, Subdepartments and Teams, required headcount, workplaces and spaces, as well as desk sharing ratio and many more.
Learn more
D) Floors
Floors gives you an easy and fast way to distribute subdepartments and teams to the respective floors and gives you a quick overview of how much space is available.
Learn more
E) Settings
In Settings you can make global settings that affect the whole project: Determine Units and Calculations, enter Project Information and define Clearances and Spacing.
F) Help
Via the Help you get access to tutorials, CoDesigner Wiki and Support by Haworth.
G) Redo/Undo
H) Projectname
The projectname is displayed on the right side of the navigation bar. You can change the project name in Settings under Project Information. Until then, CoDesigner uses “New Project” with the current date and time as suffix.
Navigating the Plan View
To pan around the canvas simply click with the mouse somewhere outside the floorplan, hold the mouse down and move the plan where you want it to be. If you are at zoom level 2 (see information below) you can also place and hold down the mouse within the plan to pan the canvas.
To zoom in and out, simply use the scroll wheel of your mouse and switch smoothly between the two levels of zoom:

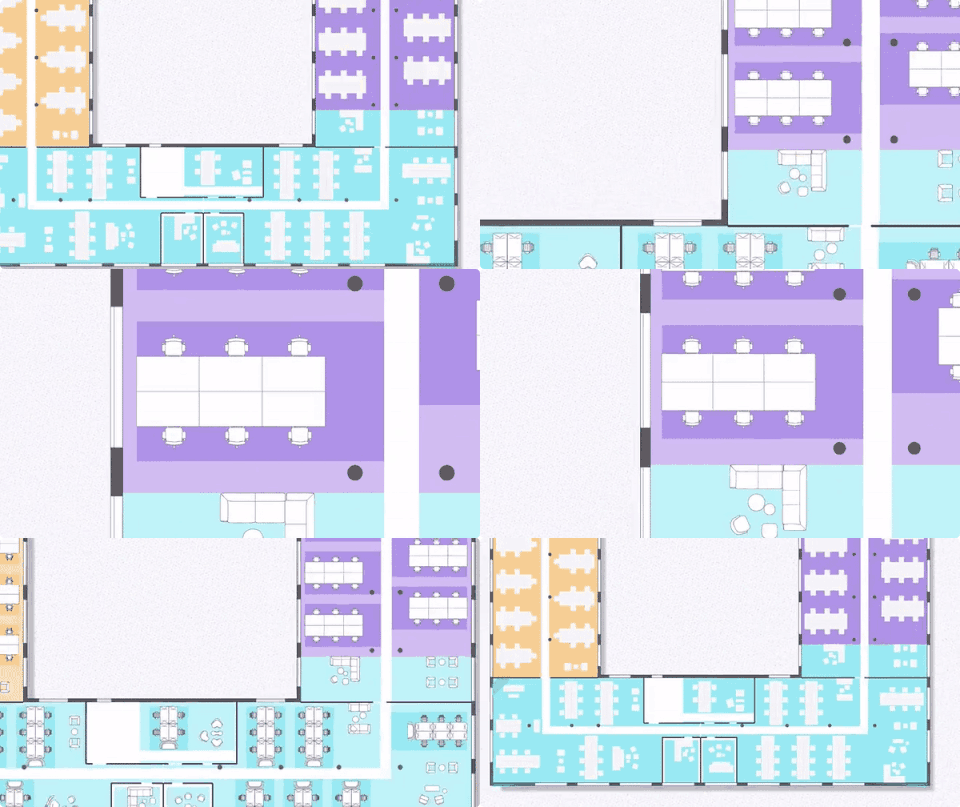
The first zoom level (default) quickly shows the distribution of the main departments within the floor plan. Only entire departments can be selected at this level. The second zoom level shows the furniture in detail and now offers the possibility to select departments or teams.